
Attaching a lining to poncho fabric is a crucial process that not only enhances the comfort of the poncho but also adds durability and a more finished look. As a poncho fabric supplier, I've witnessed firsthand the importance of this step in creating high - quality ponchos. In this blog, I'll guide you through the process of attaching a lining to poncho fabric, sharing tips and techniques that I've gathered over the years.
Understanding the Basics of Poncho Fabric and Lining
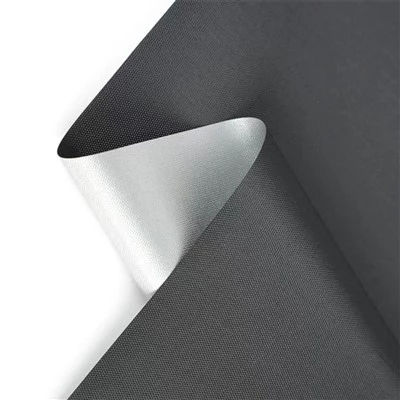
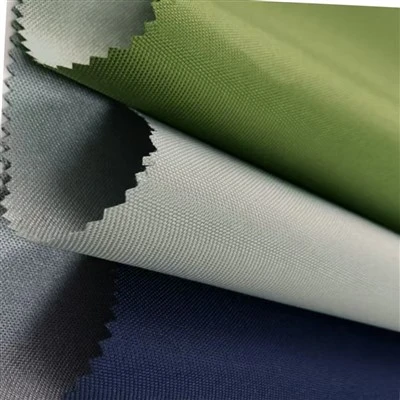
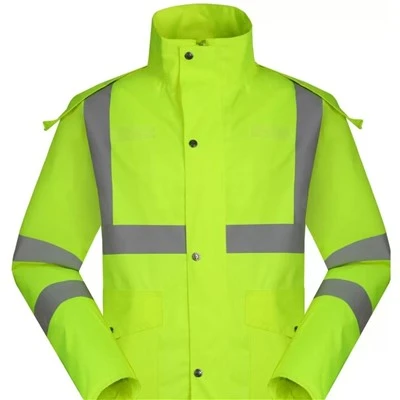
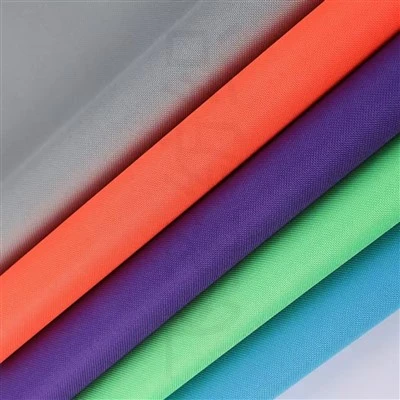
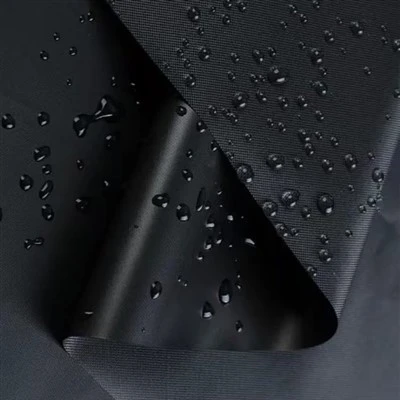
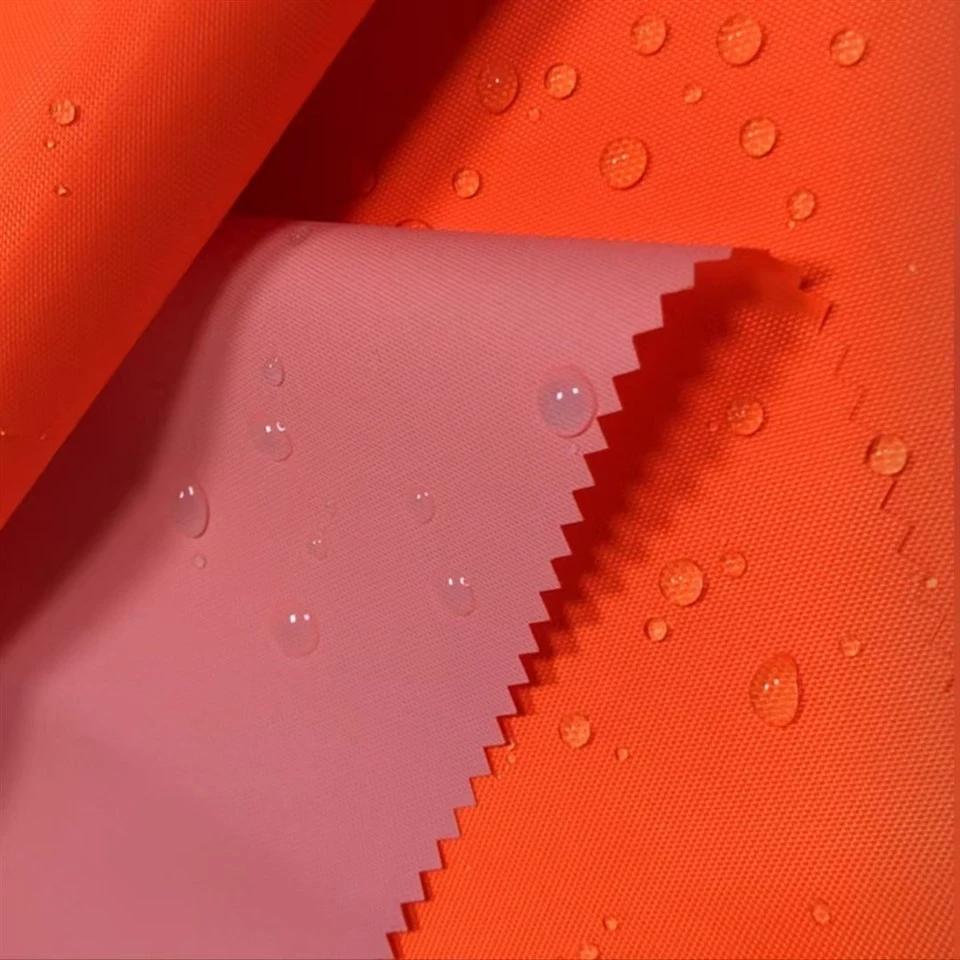
Before we start the attachment process, it's essential to understand the different types of poncho fabrics and linings available. Poncho fabrics can range from lightweight and breathable materials like cotton to more waterproof options such as Oilcloth Rain Poncho. The choice of fabric depends on the intended use of the poncho, whether it's for casual wear, outdoor activities, or protection from the rain.
When it comes to linings, there are several options to consider. Cotton linings are soft and comfortable, making them ideal for everyday ponchos. Silk linings, on the other hand, add a touch of luxury and have a smooth feel against the skin. Synthetic linings, such as polyester, are often more durable and moisture - wicking, which is great for ponchos used in active settings.
Preparing the Poncho Fabric and Lining
The first step in attaching a lining to poncho fabric is to prepare both the fabric and the lining. Start by washing and drying the poncho fabric and the lining according to the care instructions. This helps to pre - shrink the materials and prevent any future shrinking after the poncho is assembled.
Once the materials are dry, lay them out flat on a clean surface. Use a ruler and a fabric marker to measure and mark the dimensions of the poncho on both the fabric and the lining. Make sure to leave a small seam allowance around the edges. If the poncho has a specific shape, such as a hood or a curved hem, transfer these markings accurately to the lining.
Cutting the Poncho Fabric and Lining
After marking the dimensions, carefully cut the poncho fabric and the lining using sharp fabric scissors. Take your time to ensure clean and straight cuts. If the poncho has intricate details, such as slits or decorative elements, cut these out on both the fabric and the lining as well.
It's important to note that the lining should be slightly smaller than the poncho fabric. This is because the lining will be attached inside the poncho, and a smaller lining will prevent it from poking out at the edges. A general rule of thumb is to cut the lining about 1/4 to 1/2 inch smaller all around.
Attaching the Lining to the Poncho Fabric
There are several methods for attaching the lining to the poncho fabric, and the choice depends on the type of fabric and the desired finish. One common method is to sew the lining to the poncho fabric using a sewing machine.
Using a Sewing Machine
- Pin the Lining to the Poncho Fabric: Place the lining on top of the poncho fabric, right sides together. Use straight pins to secure the two layers along the edges, making sure to align the markings. Space the pins about 1 to 2 inches apart.
- Sew the Edges: Set your sewing machine to a straight stitch and sew along the edges of the poncho, leaving a small opening at the bottom or one of the sides. This opening will be used to turn the poncho right side out later. Use a seam allowance of about 1/4 to 1/2 inch, depending on the thickness of the fabric.
- Clip the Corners and Curves: After sewing the edges, use sharp scissors to clip the corners and curves of the poncho. This helps to reduce bulk and allows the poncho to lay flat when turned right side out.
- Turn the Poncho Right Side Out: Reach through the opening and carefully turn the poncho right side out. Use a chopstick or a turning tool to push out the corners and smooth the fabric.
- Close the Opening: Once the poncho is right side out, use a hand - stitch or a sewing machine to close the opening. You can use a blind stitch for a more invisible finish.
Hand - Sewing Method
If you don't have a sewing machine or prefer a more traditional approach, you can also attach the lining to the poncho fabric by hand. The process is similar to using a sewing machine, but you'll use a needle and thread instead.
- Thread the Needle: Choose a thread that matches the color of the poncho fabric and thread a needle. Tie a knot at the end of the thread.
- Pin the Lining to the Poncho Fabric: Just like with the sewing machine method, place the lining on top of the poncho fabric, right sides together, and pin them along the edges.
- Sew the Edges: Use a running stitch to sew along the edges of the poncho, leaving an opening. Make sure to keep the stitches even and close together.
- Clip the Corners and Curves: Clip the corners and curves of the poncho as described in the sewing machine method.
- Turn the Poncho Right Side Out: Turn the poncho right side out through the opening and smooth the fabric.
- Close the Opening: Use a whip stitch or a ladder stitch to close the opening. These stitches are more invisible and give a neat finish.
Adding Finishing Touches
Once the lining is attached to the poncho fabric, you can add some finishing touches to make the poncho look more professional. You can hem the edges of the poncho using a double - fold hem or a bias binding. This not only gives the poncho a clean look but also prevents the fabric from fraying.
If the poncho has a hood, you can add a drawstring to the hood for a more adjustable fit. Simply thread a drawstring through a casing at the top of the hood and tie it in a bow.
Tips for a Successful Attachment
- Choose the Right Thread: Make sure to choose a thread that is strong enough to hold the fabric and the lining together. For heavier fabrics, use a thicker thread.
- Test the Stitch: Before sewing the entire poncho, test the stitch on a scrap piece of fabric to make sure it looks good and holds well.
- Take Your Time: Attaching a lining to poncho fabric requires patience and precision. Don't rush the process, and take the time to make sure everything is aligned correctly.
Contact for Purchase and Collaboration
If you're interested in purchasing high - quality poncho fabric for your projects, or if you have any questions about the process of attaching a lining to poncho fabric, feel free to reach out. Our team of experts is always ready to assist you in finding the perfect fabric and providing guidance on the best techniques.
References
- "The Complete Guide to Sewing Fabrics" by Jane Smith
- "Fabric Selection and Usage" by John Doe
- Online resources on sewing and poncho making from various craft websites