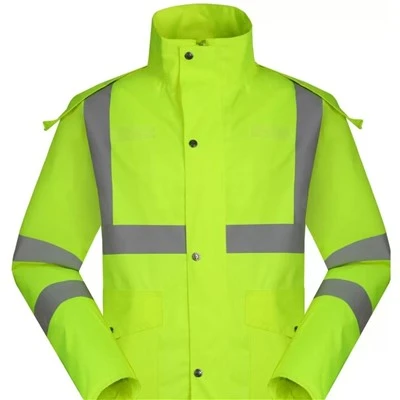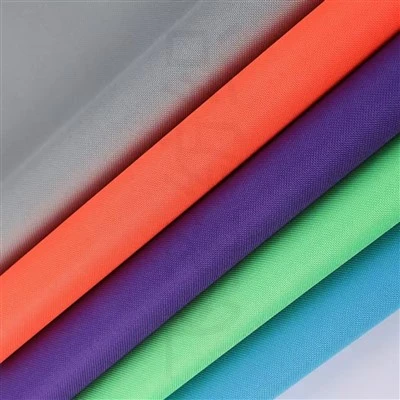

Hey there! As a supplier of Oxford Material Waterproof items, I've seen my fair share of damaged products. And let me tell you, it's not the end of the world when your favorite waterproof gear gets a bit banged up. In this blog, I'm gonna share some tips on how to repair a damaged Oxford Material Waterproof item.
Understanding Oxford Material Waterproof Items
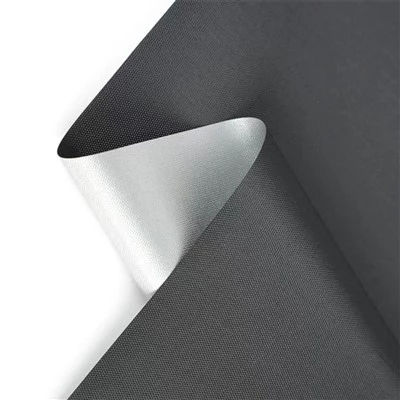
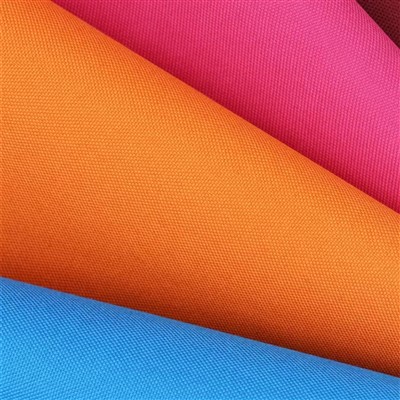
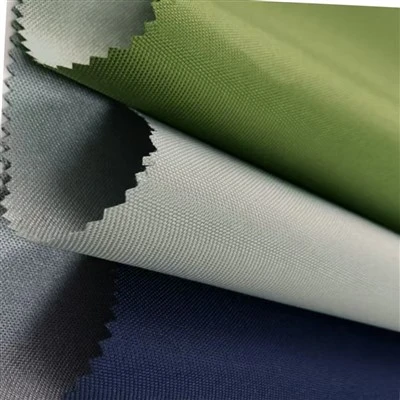
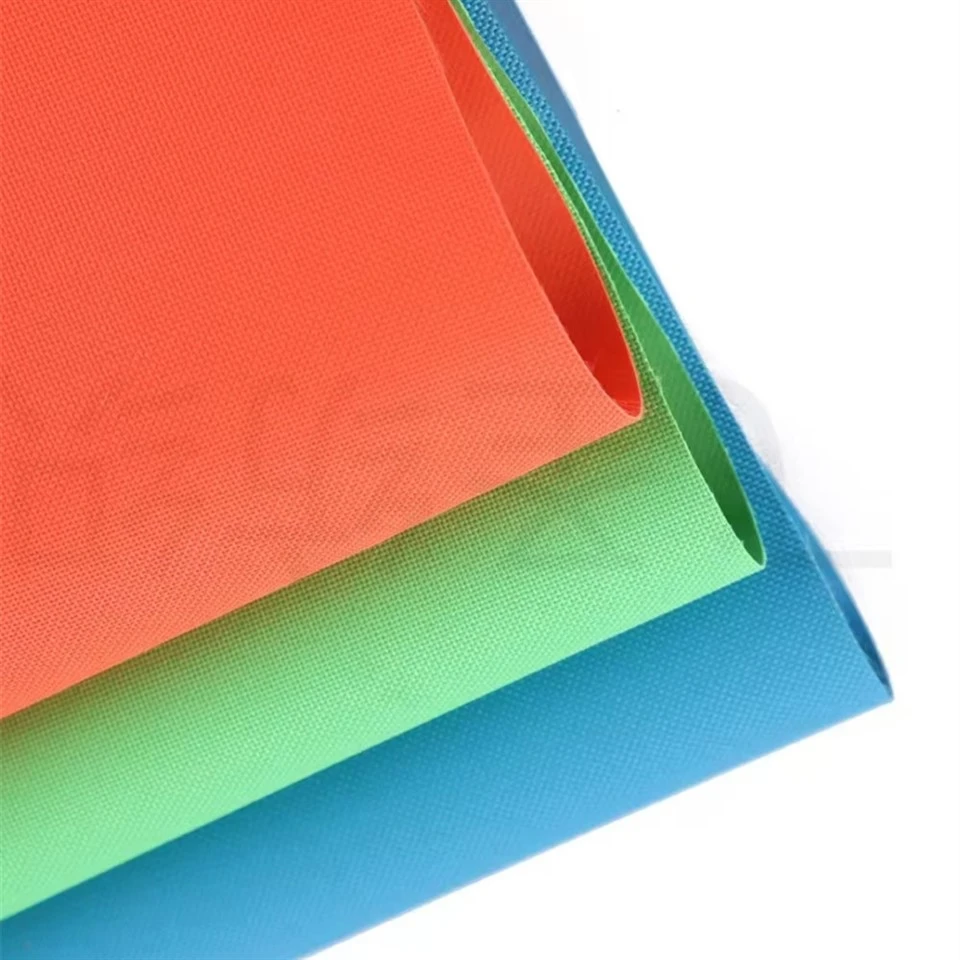
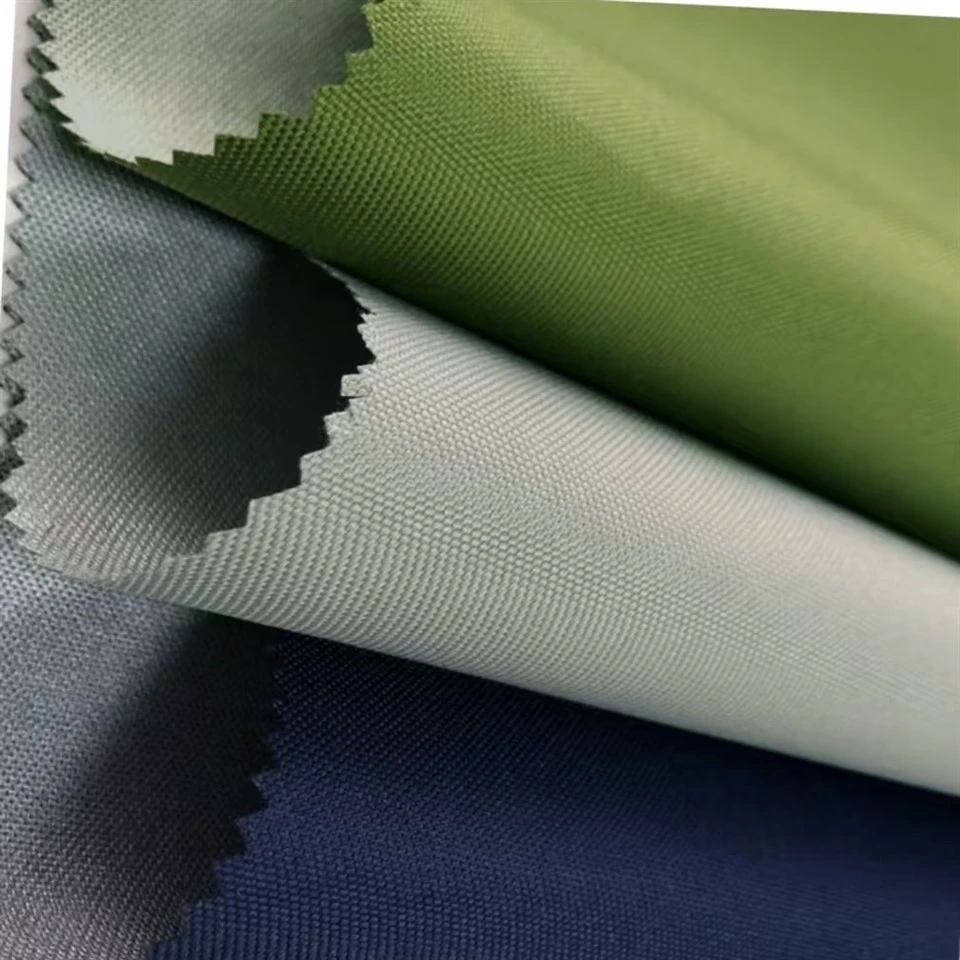
First off, let's talk a bit about what Oxford material is. Oxford fabric is a popular choice for waterproof items because it's durable, lightweight, and has great water - resistant properties. There are different types of coated Oxford fabric, like Coated Oxford Fabric, PVC Coated Oxford Fabric, and PU Coated Oxford Fabric. Each type has its own characteristics, but they all share the common goal of keeping you dry.
Tools You'll Need
Before you start the repair process, you'll need to gather some tools. Here's a list of what you'll typically need:
- Scissors: To cut any loose threads or patches.
- Needle and thread: Make sure the thread is strong and water - resistant.
- Waterproof adhesive: This is crucial for sealing any holes or tears.
- Patch material: You can use a spare piece of the same Oxford material or a specialized waterproof patch.
- Sandpaper: To roughen the surface around the damaged area for better adhesion.
Step - by - Step Repair Guide
Step 1: Assess the Damage
The first thing you need to do is take a good look at the damaged item. Is it a small tear, a large hole, or just a worn - out seam? This will determine the best repair method. If it's a small tear, you might be able to get away with a simple stitch. But for a large hole, you'll probably need to use a patch.
Step 2: Clean the Area
Once you've assessed the damage, clean the area around the tear or hole. Use a mild soap and water to remove any dirt, grime, or debris. Make sure to dry the area completely before moving on to the next step. A clean surface will ensure better adhesion of the patch or adhesive.
Step 3: Prepare the Patch (if needed)
If you're using a patch, cut it to a size that is slightly larger than the damaged area. You can use the same type of Oxford material as the item you're repairing or a specialized waterproof patch. If the patch has a backing, remove it carefully.
Step 4: Roughen the Surface
Take some sandpaper and gently roughen the surface around the damaged area. This will help the adhesive stick better. Be careful not to sand too hard and damage the fabric further.
Step 5: Apply the Adhesive
Squeeze a small amount of waterproof adhesive onto the damaged area and the back of the patch (if using). Spread it evenly with a small brush or your finger. Make sure to cover the entire area that will be in contact with the patch.
Step 6: Attach the Patch
Carefully place the patch over the damaged area, aligning it properly. Press down firmly to ensure good contact between the patch and the fabric. Use a roller or a flat object to smooth out any air bubbles.
Step 7: Stitch (optional)
If you want to add extra strength to the repair, you can stitch around the edges of the patch. Use a strong, water - resistant thread and a needle. Make small, even stitches to hold the patch in place.
Step 8: Let it Dry
After applying the patch and stitching (if applicable), let the item dry completely. This may take a few hours or even a day, depending on the type of adhesive you used. Make sure to follow the manufacturer's instructions for drying time.
Repairing Worn - out Seams
Seams are often the first place to show wear and tear on waterproof items. Here's how you can repair them:
- Re - stitch the Seam: If the stitches are coming loose, use a needle and thread to re - stitch the seam. Make sure to use a strong, water - resistant thread.
- Apply Seam Sealer: Once you've re - stitched the seam, apply a waterproof seam sealer. This will help prevent water from seeping through the stitches.
Testing the Repair
After the repair is dry, it's important to test it to make sure it's waterproof. You can do this by spraying the repaired area with water or submerging it in water for a few minutes. Check for any signs of leakage. If there are still leaks, you may need to repeat the repair process.
Tips for Preventing Future Damage
- Proper Storage: Store your waterproof items in a dry, cool place. Avoid folding them too tightly, as this can cause stress on the fabric and seams.
- Regular Maintenance: Check your waterproof items regularly for signs of wear and tear. Repair any small damages as soon as you notice them to prevent them from getting worse.
- Avoid Sharp Objects: Be careful not to let your waterproof items come into contact with sharp objects, as this can easily tear the fabric.
Conclusion
Repairing a damaged Oxford Material Waterproof item is not as difficult as it may seem. With the right tools and a little bit of know - how, you can extend the life of your favorite waterproof gear. And if you're in the market for new Oxford Material Waterproof items, we're here to help! Whether you need Coated Oxford Fabric, PVC Coated Oxford Fabric, or PU Coated Oxford Fabric, we've got you covered. If you have any questions or want to discuss your procurement needs, feel free to reach out. We're always happy to help you find the perfect waterproof solution for your needs.
References
- "Textile Materials and Their Selection" by John H. Bryan
- "Waterproofing Textiles: Principles and Applications" by W. Stephen Percival